Connect and test
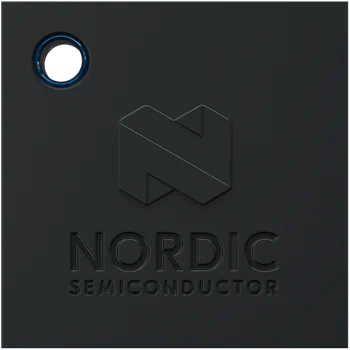
- Unbox your Thingy.
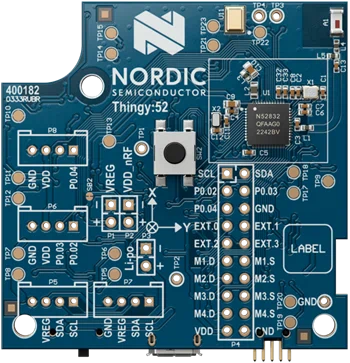
- Gently remove the rubber overlay to reveal the power button. You will find it right next to the micro-USB port. Power on the device. Nordic Thingy:52 has been designed with focus on power efficiency and will be able to function for extended periods of time without charging. To charge the Thingy, simply connect it to a computer or mobile charger via the micro-USB port. Note that the power switch must be on for the device to charge.
- Download the mobile app suitable for your platform; the Nordic Thingy iOS App from App store or the Nordic Thingy Android App from Play store. You can also use the web application, which does not require you to install any software on your mobile device. Simply scan for the Eddystone beacon advertised by the Thingy and follow the URL.
- Start the mobile app and tap Scan to search for nearby devices. Connect to a device that advertises as Thingy.
- Set a name for your Thingy. This is an optional step.
- You now enter the main screen of the app. This screen displays the environment sensor data captured by your Thingy. You can connect to or disconnect from a Nordic Thingy:52 using the button located on the toolbar near the top of the screen.
-
Tap the hamburger icon located near the top left of the screen to enter the main menu of the app. Navigate this menu to view and access the various types of sensor data captured from the connected Thingy devices.
Get started
Congratulations on getting your Nordic Thingy:52!
In this guide, we’ll show you how to power up your Nordic Thingy:52 and control it through the provided mobile apps.
Note: The screenshots in this procedure show the Android mobile application, but the procedure is almost the same for the iOS app and web application.
Video Tutorials
View and learn
Nordic Thingy:52
Nordic Thingy:52 Fan Demo
Nordic Thingy:52 Light Demo
Nordic Thingy:52 Radiostream Demo
